
The workshop was yesterday down in the City at the Art Star Gallery and Boutique. We had a blasty blast, and left with finished pieces and a lot of new knowledge (and the encouragement to play and experiment and try new things). I tried to take enough photos to show you the technique, and also to remind myself in case I do want to do this again.
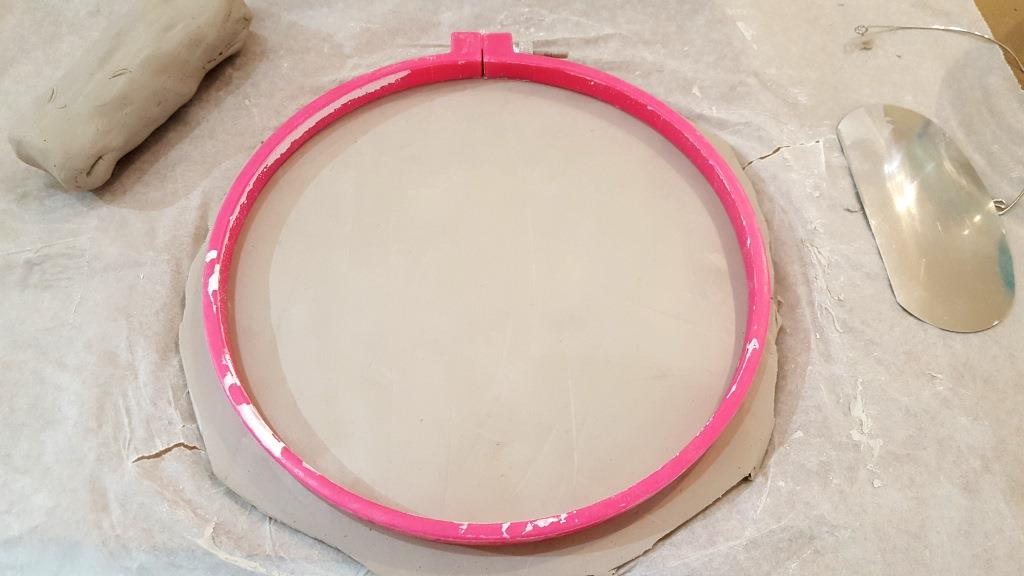
Let's start with the obligatory materials shot:

We've got clay, a scraper, the adjustable part of an embroidery hoop, tweezers, a twisted wire hanger, stirring sticks, and a dust mask.
First you roll out the clay until it's a little bigger than your hoop and trim off some of the excess.
Then you select flowers. This involves a lot of trial and error, and the stiffer the flower the better (or so we were told). She had pre-selected what would work best, so we knew we'd be getting decent impressions (but also told us what doesn't work well at all in case we left with any bright ideas).
Laying out the flowers is the trickiest part. It was taking me forever, so I just decided to go for it and whatever happened would be fine.

The part I had difficulty with is that you have to visualize this in reverse. It made my brain hurt trying to do this, and I could see me taking hours on this part if I had limitless time. Once you have your arrangement somewhat figured out, you push them down into the clay. You have to smush them in there good, but at the same time not too hard so you don't go all the way through. A rolling pin helps a little bit. Looking at this now, I can see where it's a little messy looking in certain parts (but again--limited time had me cutting corners).
Once you've done a jolly good smash, you just pull all the flowers back out. They're covered in clay, but actually bounce back much more than you'd ever think.

Pulling them out was a little tense, as I was just absolutely positive I was going to mess things up spectacularly. But you just remove the flowers, and then use tweezers to pull out any of the larger bits that are being stubborn. Some bits were so small it might have ruined the mold to remove them all, so I just left them, hoping for a pop of color in the finished piece.

Then, you mix up your plaster and water, let it sit for a couple minutes, and then pour it into the hoop. She had measured things so precisely that it filled the hoop practically perfectly.

Then we had donuts and chatted for about an hour while this set. When it was cold to the touch, we peeled off the mold and had the most satisfying reveal ever.

Then you unscrew the hoop, neaten up the edges a bit, and voila!

I can certainly see how you need a few tries to work out the kinks. I'd be more mindful of the stems, and you can see where the little bits that didn't want to be removed from the clay decided to scatter themselves around the plaster cast. But the level of detail is amazing.


It's going to take about a week for this to fully set, and then I have to figure out where I'm going to hang it. I had a lot of fun doing this, and I learned a lot. It's a fairly easy thing to do, but you can certainly see how there's a bit of a learning curve with the finer details.
If you're interested in seeing some really beautiful pieces, check out her website here.
